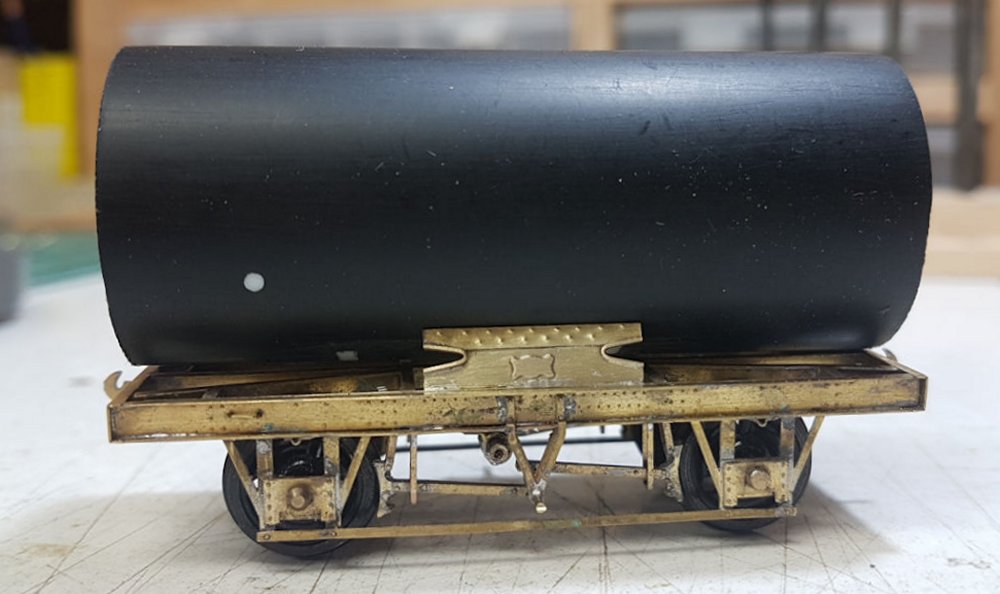
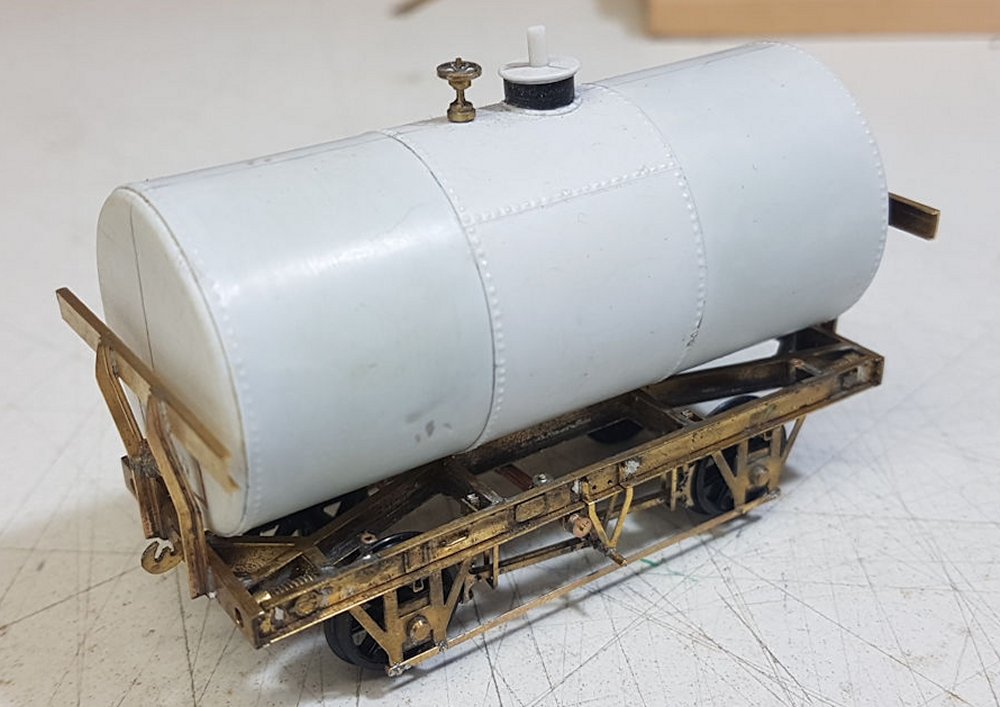
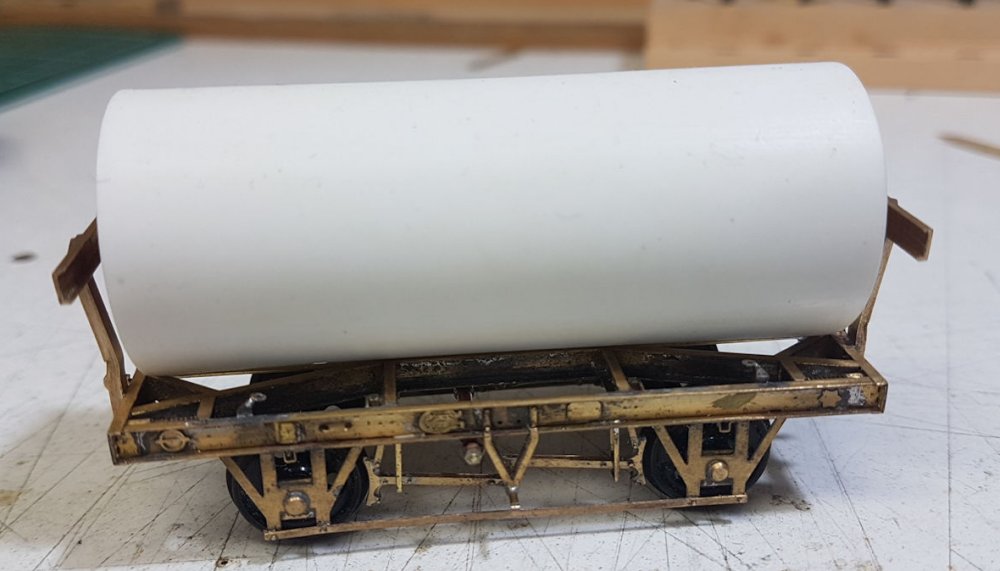
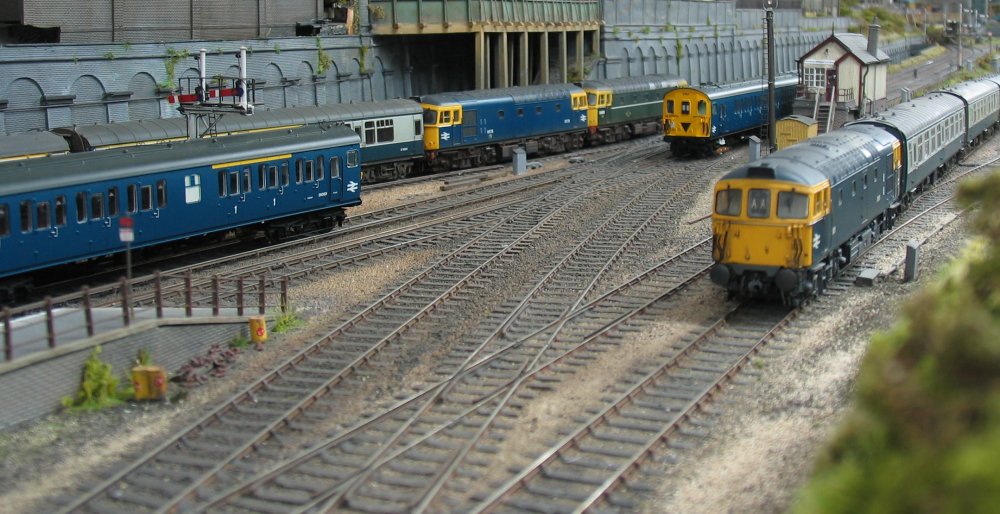
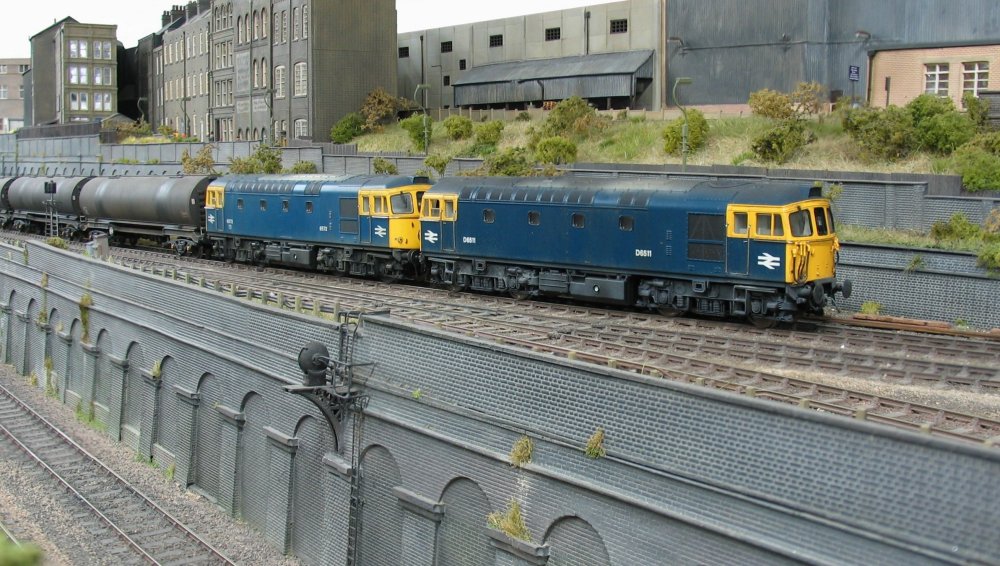
The 4-EPB has also been regauged and now awaits numbering and light weathering.
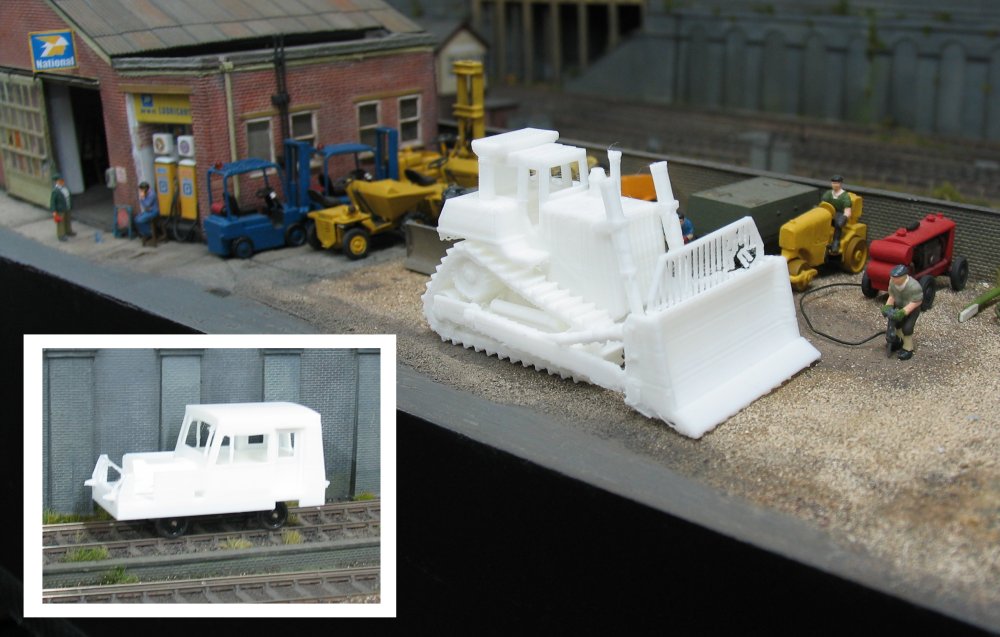
As well as converting rolling stock, the 3D printer has been busy lately with this large
bulldozer which will be heading to the steelworks at Shenston Road - a free download.
The inset shows a test-run print for the bodyshell of a Matisa/Neptune track recording
machine, drawn up on the laptop and ready for painting.
*********************************************************************************************************************************************

GREG BROOKES
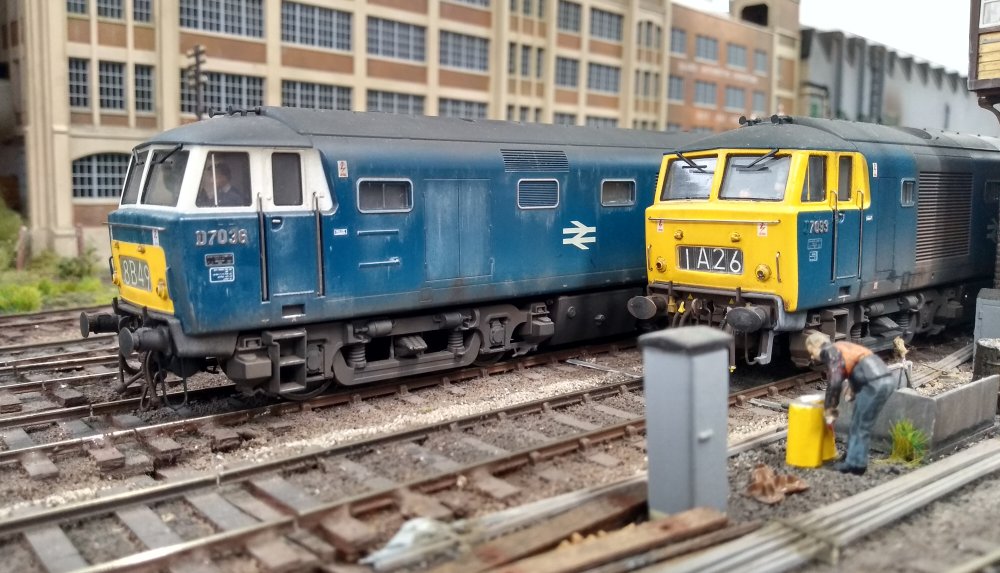
Just a few snaps captured at the lineside of Shenston Road loco's in action, starting off
with D7036 and 7093 alongside the signal box.
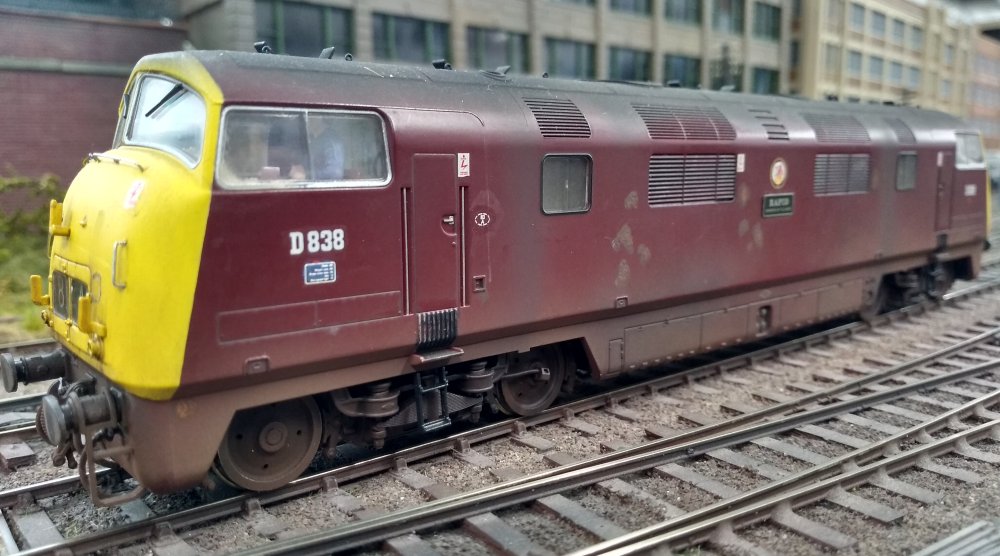
D838 Rapid is seen running light engine.
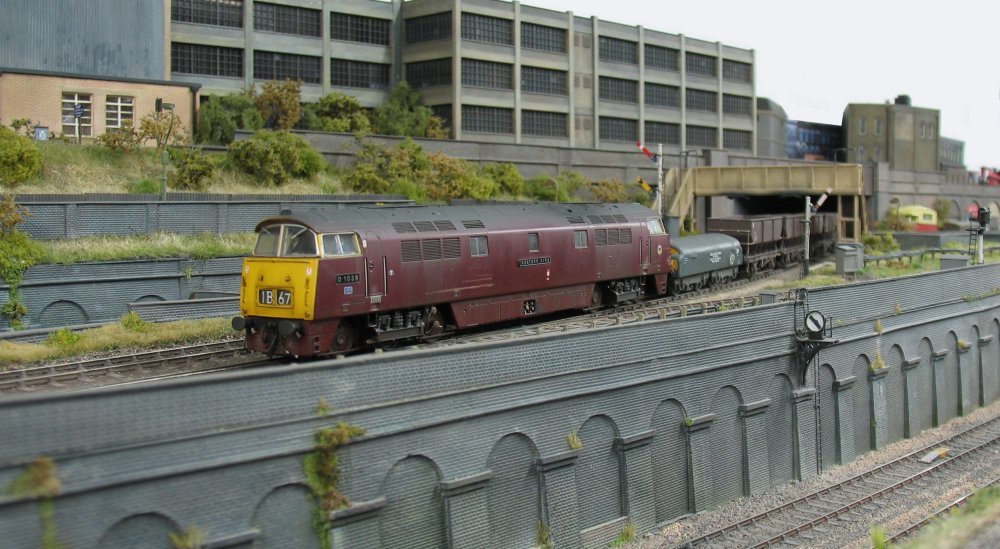
Here's a couple of Westerns stretching their legs at Hornsey Broadway - D1039 Western King
at the head of an inter-regional freight....
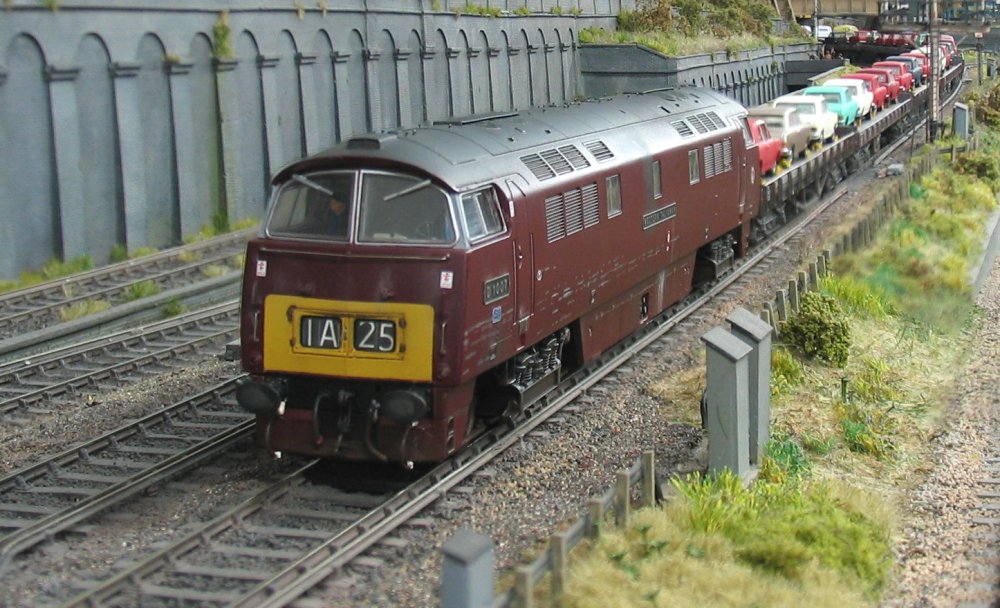
..... and D1007 Western Talisman in charge of a rake of Carflats.
*********************************************************************************************************************************************

HYWEL THOMAS
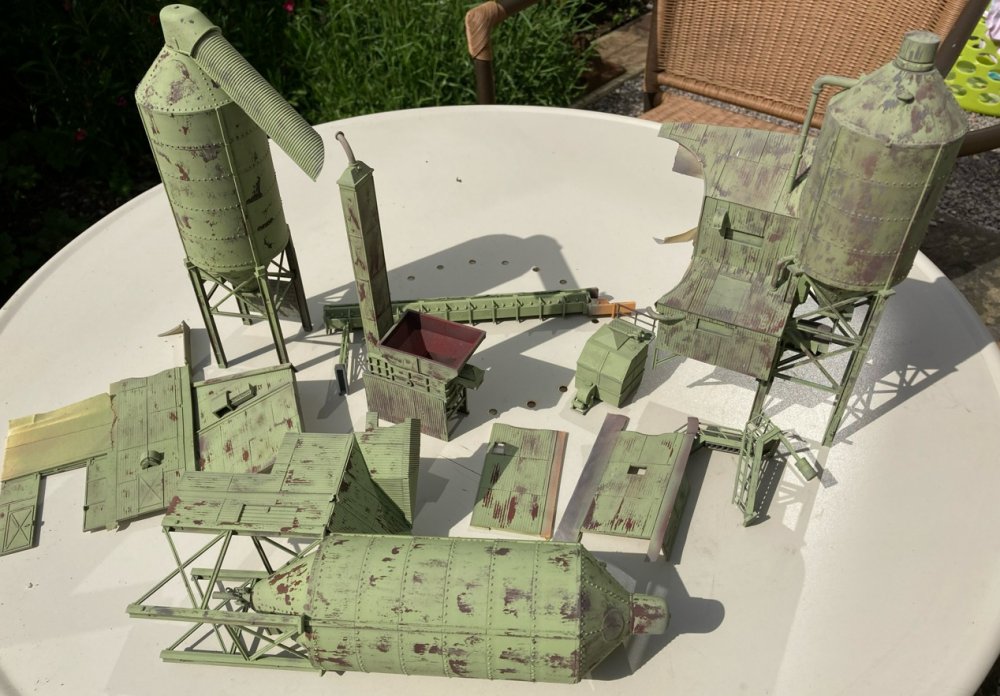
Last month the sand silos had got as far as being sprayed with a base coat of rust brown. The
next task was a coat of chipping fluid and then the light green top coat. After attacking the
various components with a stiff damp brush some of the base coat begins to show through as a
precursor to some serious weathering.
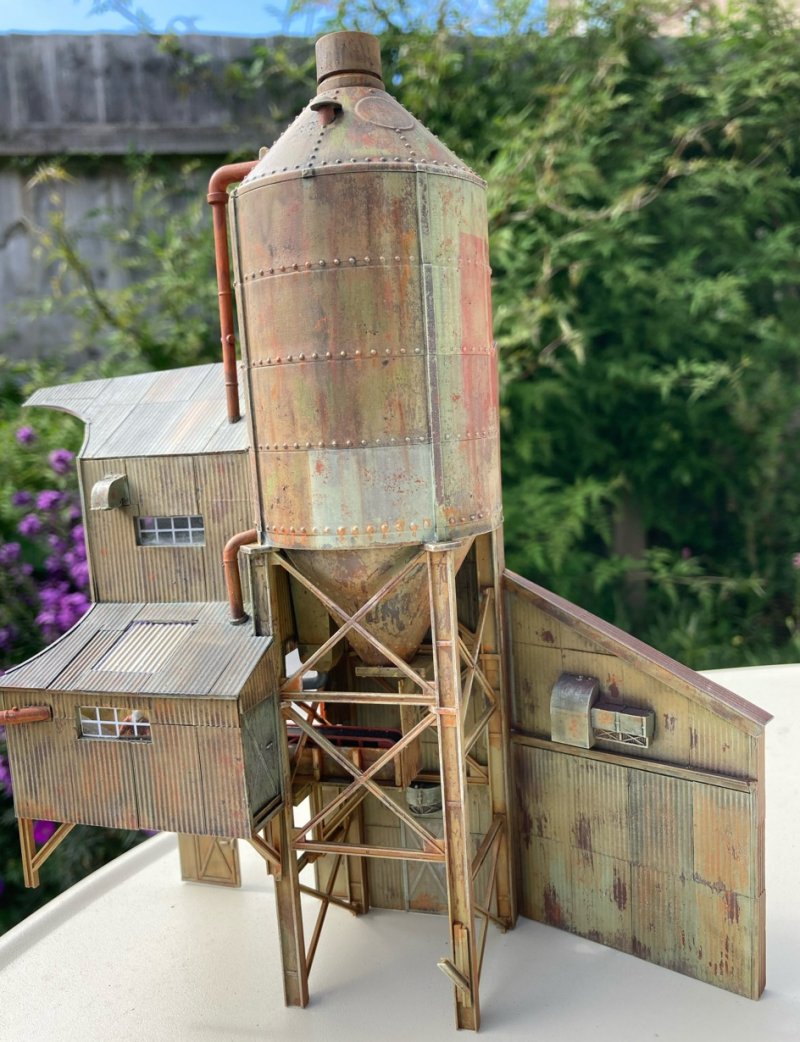
After using a lot of various military modelling products (from streaking grime to weathering
pencils) it was starting to look almost as bad as the extremely decrepit Newport example from
1987 that inspired the build. The combination of sea dredged sand, well mixed with salt, along
with the salty air off the Bristol Channel saw any metal structures extremely susceptible to rust.
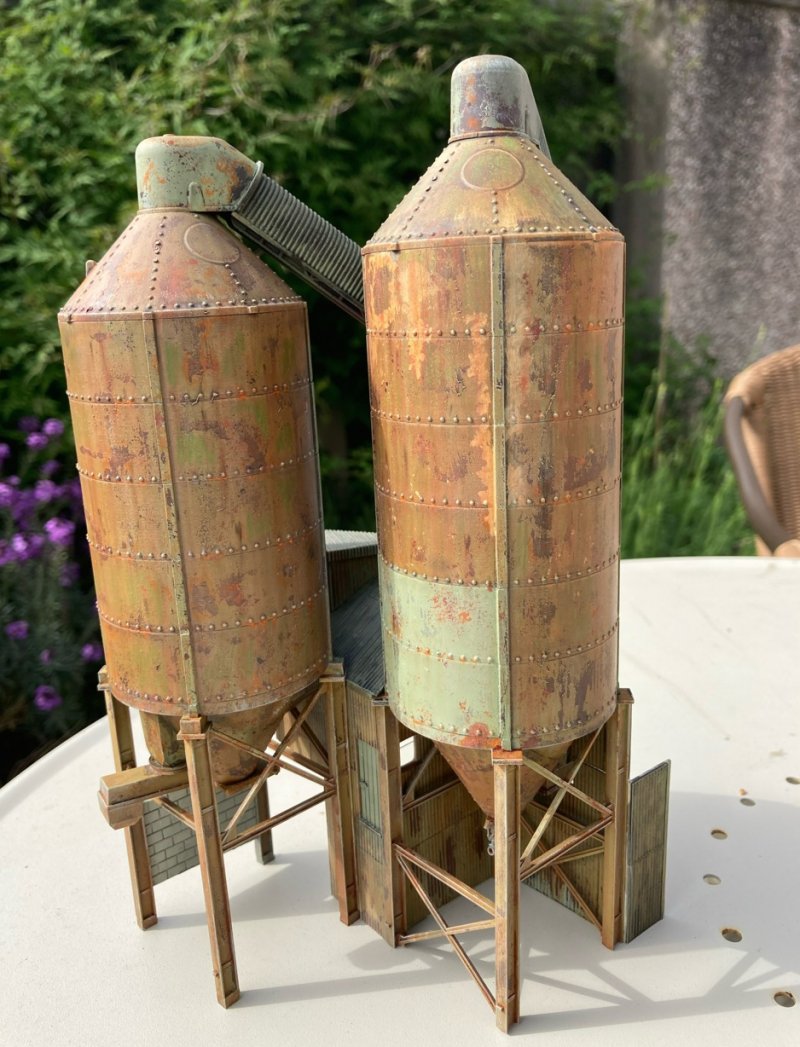
Here we see the other two silos in equally poor state. The top conveyor ends just behind the
second silo, which acts as a view blocker when looking at the layout. Each component will remain
unattached to each other so they can be removed from the layout if required.
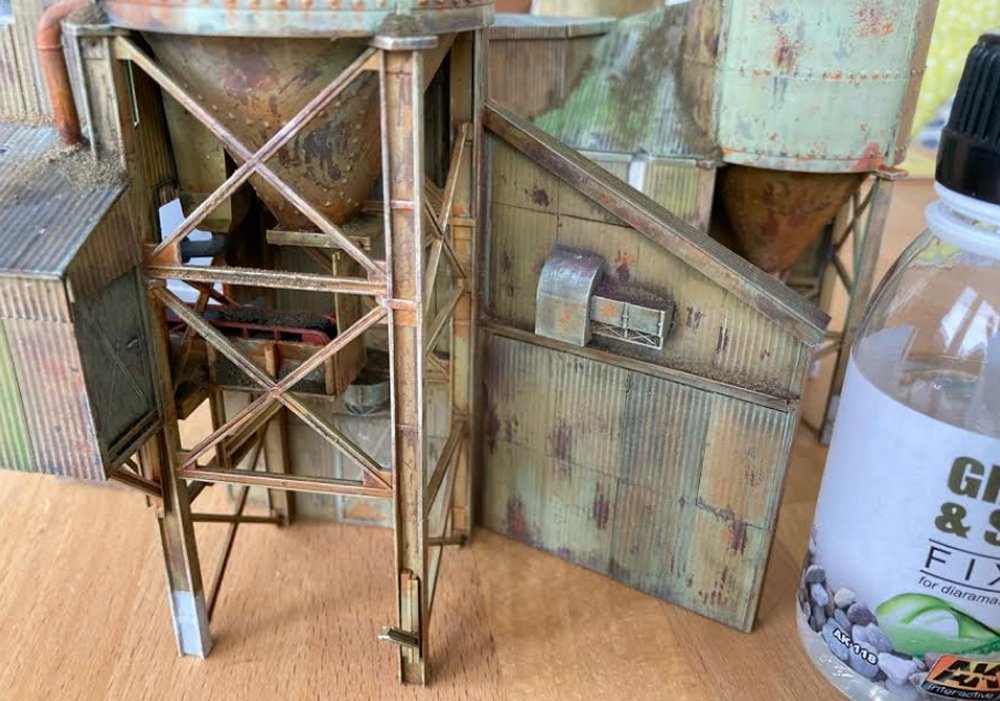
Once the weathering process was complete I decided to add some loose sand to the structure as these
places tended to be liberally covered in the stuff, exposed as they were to strong sea breezes. Once
it was in position the grains were fixed in place using fixing fluid applied with a pipette.

A close-up of the washer tank and pump showing how the sand has accumulated. We can also see the
loading hopper and a hefty build up of wet sand on every flat surface. The narrow gauge
exit to the fiddle yard will be disguised with some suitably placed black card boxes.

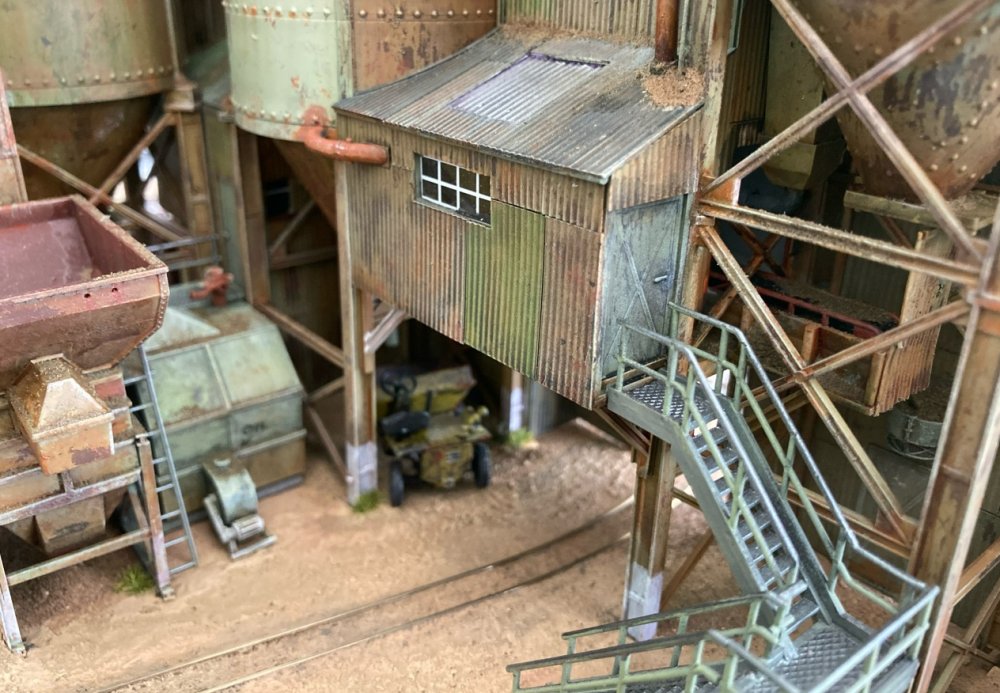
Another view of the hopper with the washer box behind it shown in relation to the surrounding
structures. The repainted panels (and some of the rust) were coloured using the very versatile water
soluble weathering pencils from AK Interactive. Lots of dingy corners, lots of rust and lots of sand!
And here are some views of the completed structure (minus the long conveyor to the foundry on the
left side).
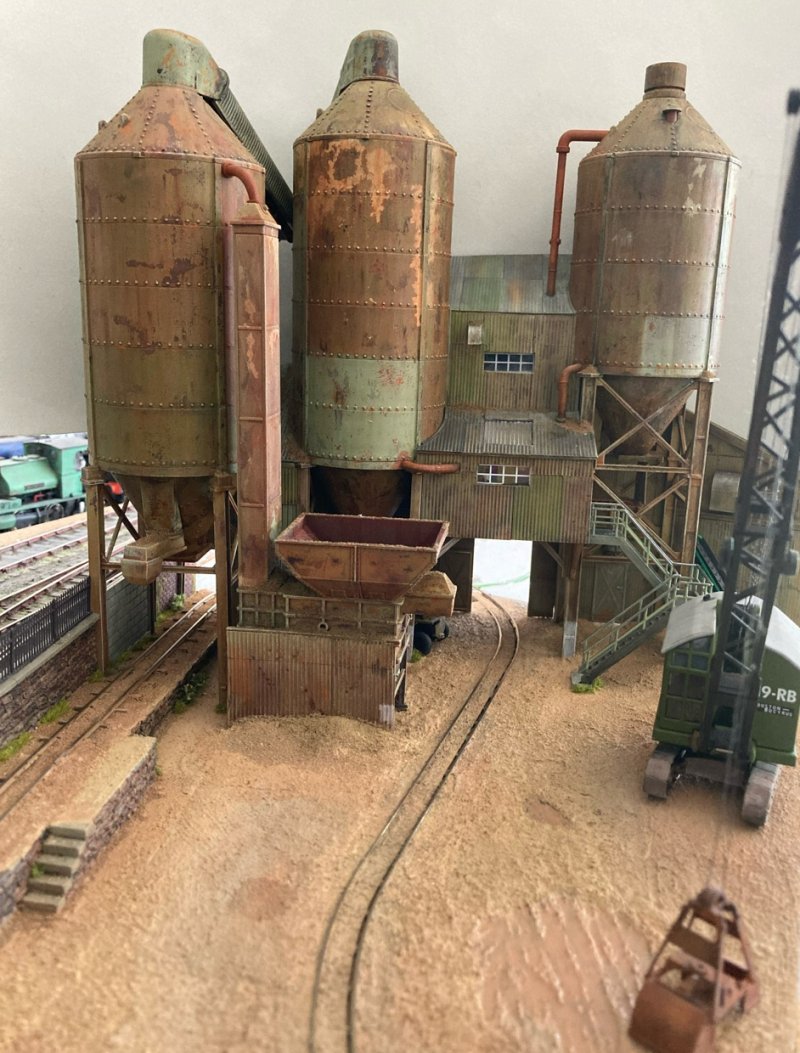
The sand is delivered to the hopper by the Ruston grab crane alongside the quay, up
above the yet-to-be-built dredger that will be sitting in the mud down below.

The rather vulnerable supporting pillar for the steps up into the structure has been
protected by the simple expedient of using an old oil drum as a former to cast a
concrete protective sleeve.
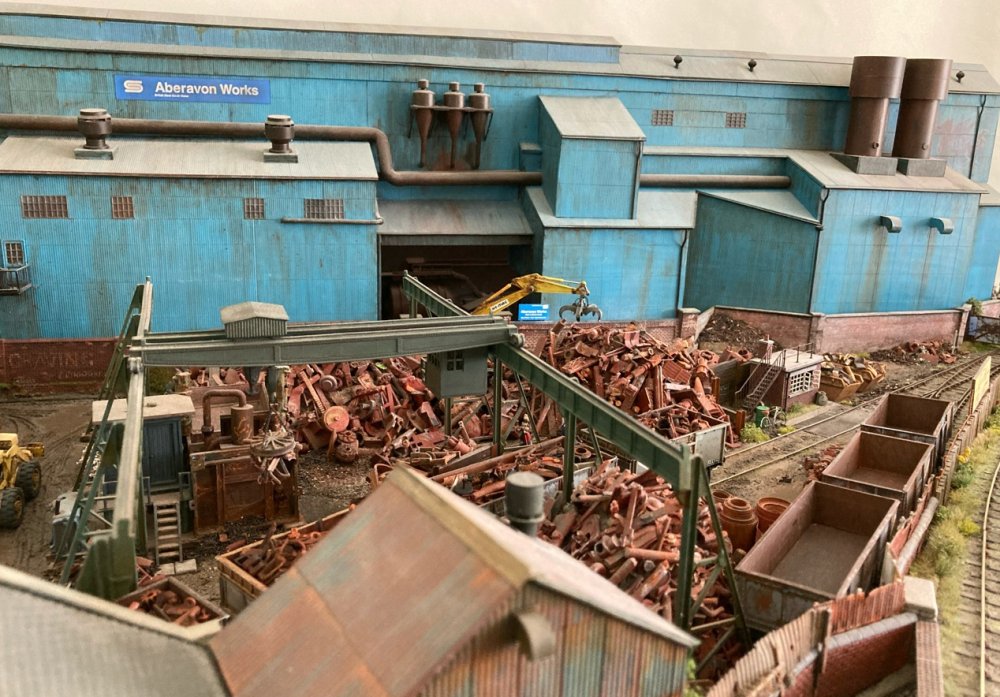
To put the wharf in context, this view shows the foundry and scrap yard – the sand silos are just
out of shot to the right.

One casualty of the later stages of the build was the 10p silo from a toy fair. When removing it
for weathering two of the legs snapped off and in trying to repair it I discovered that it was
immune to solvent. An attempt to use wire saw another leg snap and so the decision was taken to scrap
it. Here we see the much modified Kibri replacement after painting the same colour and a bit of weathering.
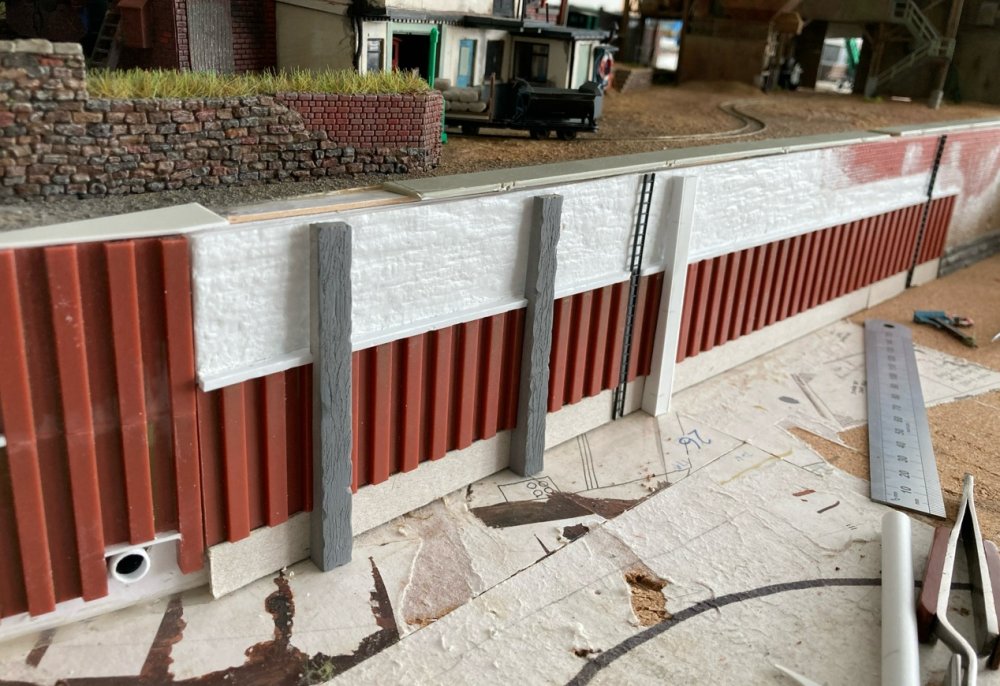
With most of the work completed at the wharf it was time to get on with the actual quay. This is
planned to be part old stone and brickwork and part steel piling, suggesting it was upgraded when the
silos were installed. Showing the old and the new before detailing and painting the walling (with
three of the timbers made from a plastic sheet box given a timber texture taking shape). Most of
the foreground will comprise of river mud, in which will sit the dredger.
*********************************************************************************************************************************************

PETE JOHNSON

The models pictured this month revisit past times north of the border. Beginning once again in
the second half of the 1960s, high-cab Hunslet 0-6-0 ‘D2595’ has recently moved north from
Yorkshire. After a brief spell at Haymarket it went to nearby Leith, until withdrawal came in 1968.
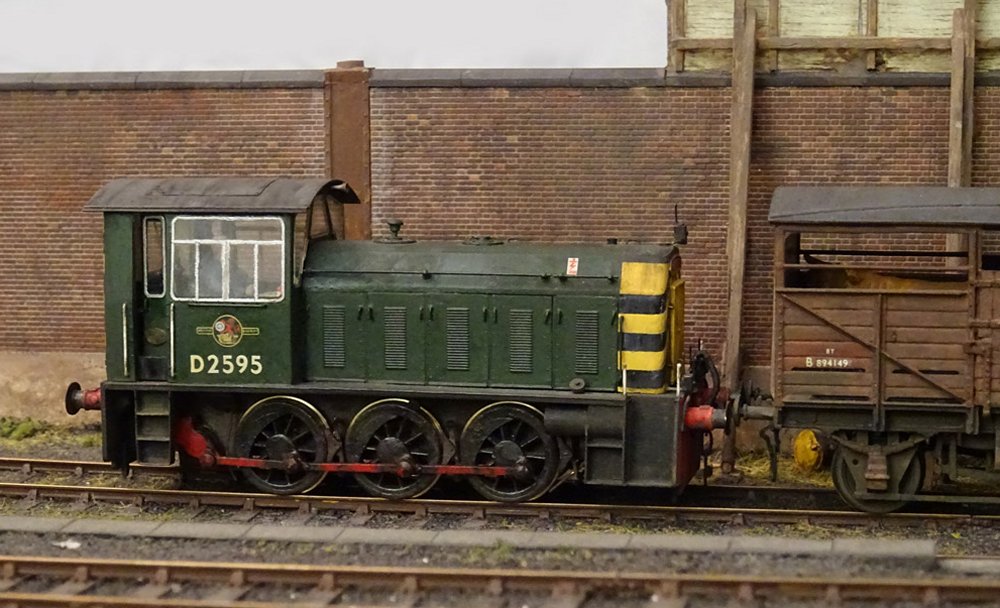
‘D2595’ is pictured again with a BR standard cattle van, a traffic that was also being heavily
cut back as the decade closed. The loco was to find further work with the CEGB at power stations
near Manchester until 1983, when it was bought for preservation. It can now be found on the Ribble
Steam Railway at Preston and often works passenger turns along the line.
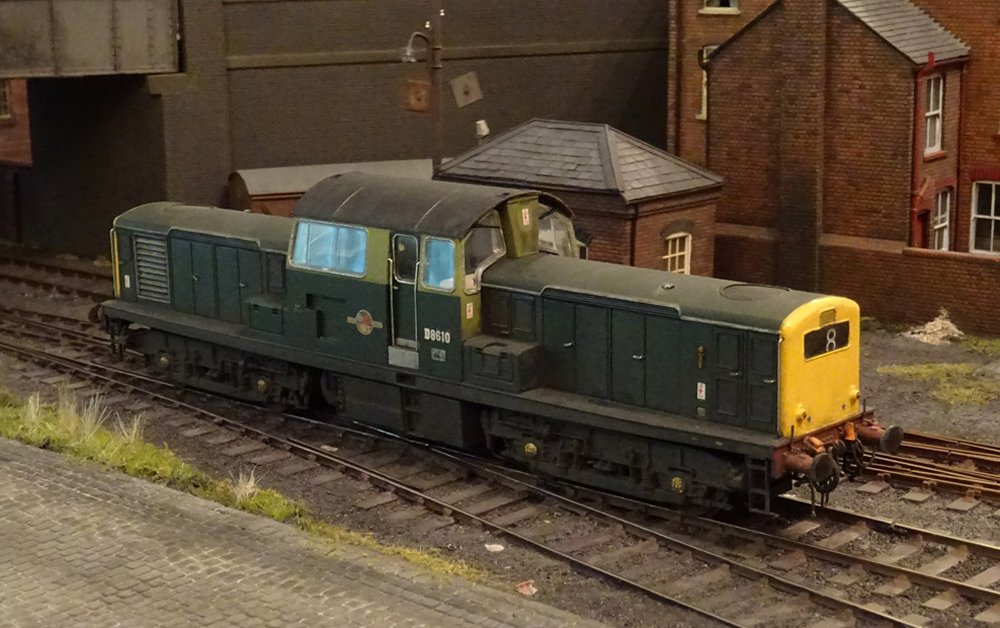
Shunting back onto the head of a departing trip, Clayton/Beyer Peacock ‘D8610’ will have only
recently received the full yellow ends. The Haymarket (Edinburgh) loco would move west to Polmadie
in 1971, only to be withdrawn later that same year.
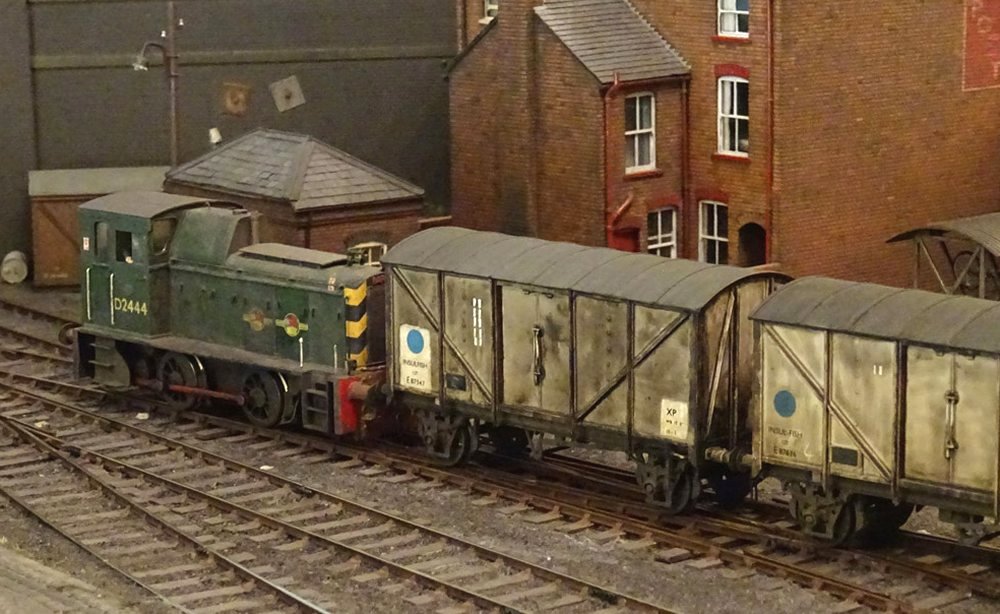
The Barclay 0-4-0 ‘Class 06’ was to survive as the sole short wheelbase shunter type in Scotland
after 1968, but in greatly reduced numbers. ‘D2444’ is seen with a couple of ‘blue spot’ Insulfish
vans. Fish was another traffic in serious decline on BR by the late sixties. ‘D2444’ was a wanderer
between many Scottish sheds during its time, and might have been found at Inverness, Perth, Dundee,
Ayr, or Grangemouth in the livery modelled.

BRCW Type 2, later ‘Class 26’, ‘D5331’ is seen arriving at the yard. The type had a reputation for
faults with the cab doors, and to judge by the mis-matched livery, the far end door has been robbed
from a stablemate still wearing the original lined green.
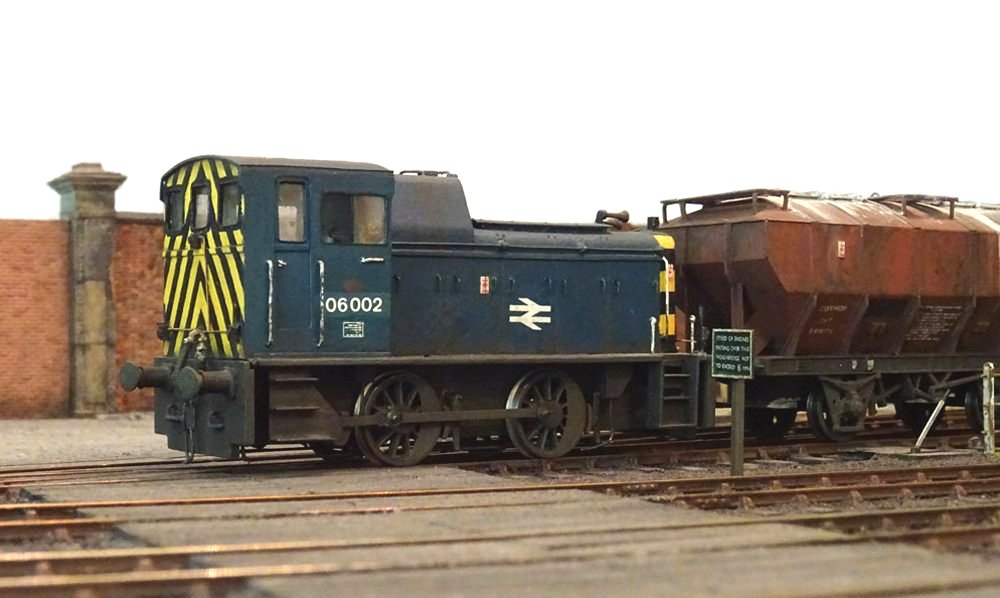
Jumping forward into the mid-1970s, long-time Dunfermline Townhill Barclay 0-4-0 ‘06 002’ is
pictured with a Covhop dry powder wagon.

‘08 135’ had spent many years on the ScR, but in truth only received its TOPS number after moving
south to Ebbw Junction during 1974.

‘27 027’ was allocated to Eastfield (Glasgow) for the whole of its time in Scotland. It was one of a
small number which carried TOPS numbers applied using the old block-character vinyls into the late 1970s.

Continuing the Scottish theme, the two North British Class 29s for the 1969-1971 era have been
completed. ‘6112’ is in typically neglected condition for the closing years of the type.

‘6129’ had been repainted blue, but again is heavily workstained.
